-
Just got back from watching "Moonrise Kingdom". It's another magical piece from Wes Anderson. I don't know if you know these guys and gals work but what they did was just beautiful. http://www.imdb.com/title/tt1748122/fullcredits#cast
It was probably shot on film, but sometimes I'd like to try to achive a similar atmosphere with CGH. Micmacs on steroids?
-
Back from ComicCon after one HELL of a non-stop 4 day party that ended with 3 hours on a train with Taryn Southern

If I look slightly smashed, it's cuz I was. Train + Alchohol = a nice trip. Sometimes, my life is just too much fun.
I'll be back on the job soon, sharing my knowledge, etc. But for now, I'm gonna go sleep for a day.....or three.
 TarynTrain.jpg960 x 720 - 84K
 -
Ok so I shot some interview pitch things for a kickstarter thing the other day...Used the New Cluster 6 Drewnet Driftwood... Couldnt get in camera playback for some reason...but the files are fine. Shot these In Smooth this time Negative 2 all.... I had to use some cheapy cowboy studio lights in softboxes to tide me over till i can grab a decent lowell kit etc..
Here is a before and After Ghears shot. I am trying to focus on better skin tones. I love CG.
 dance (00106).png1920 x 1080 - 2M
 dance_1920x1080.png1920 x 1080 - 2M
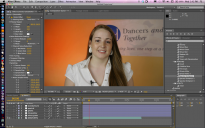 Screen shot 2012-07-11 at 1.41.47 PM.png1440 x 900 - 807K
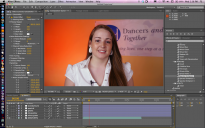 Screen shot 2012-07-11 at 2.36.05 PM.png1440 x 900 - 803K
 -
@last_SHIFT @sanzadez Looking good guys.
I'll be at ComicCon till next week, and internet down there is always dicey, so if u don't hear from me it ain't cuz I don't care.
-
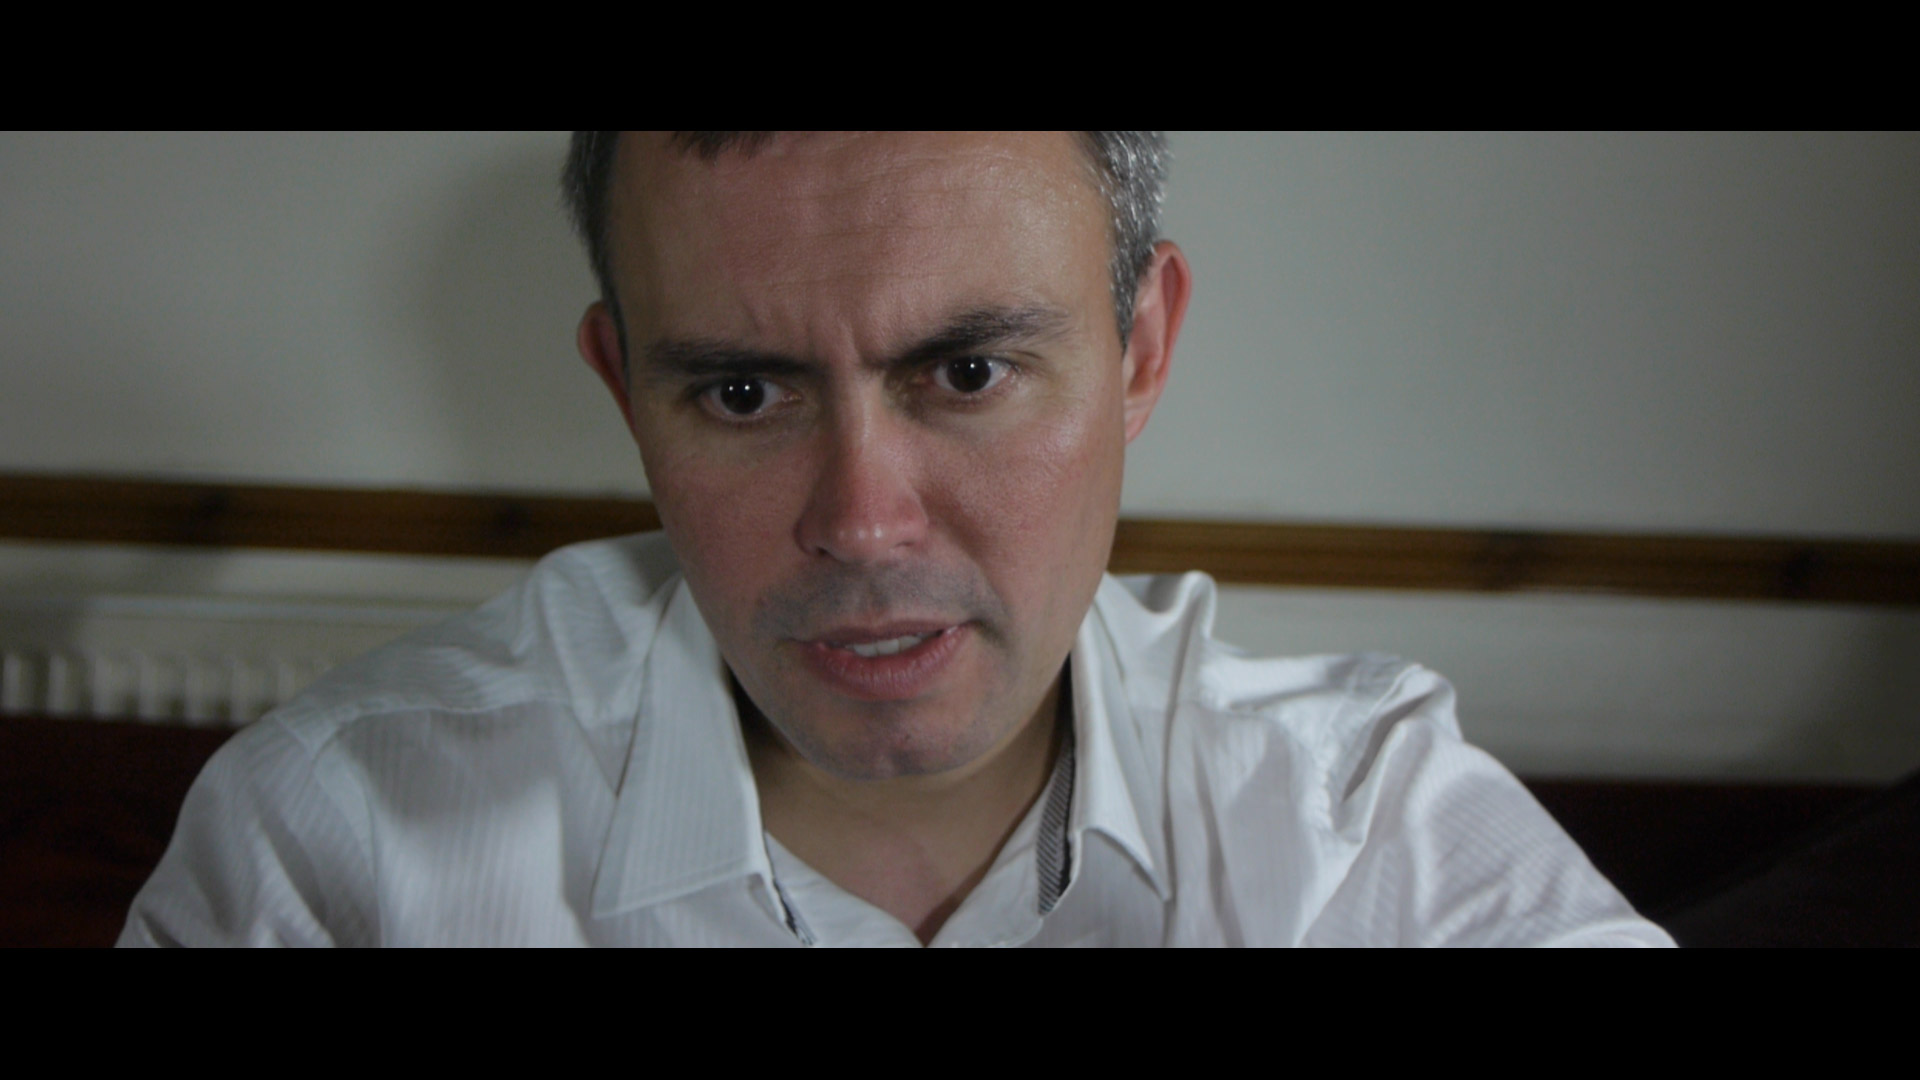
Here's a before and after grab - D800 footage with Neutral Profile Color/Contrast/Sharpness dialed down.

 D800 Ungraded Graded ColorGHear.png900 x 954 - 876K
 -
@last_SHIFT awesome, can't wait to see it on the D800 footage.
-
I just signed up this afternoon - running through the tutorials right now - can't wait to try this on my D800 files.
-
Hey @shian I've not jumped over to CS6 yet. I think I might go for the student cloud subscription. It's only about £23/month for absolutely everything.
Here's the finished project. It's quite rough in a lot of areas, as the point of the film making course was for us to do 'everything' as much as possible. Production time was about 10 hours pre-prod, 10 hours prod and 20 post.
Anyway, thanks for your help. The GHears and your workflow tutorials have been excellent. I'm still refining it, but that's the beauty of your system, in that it's completely flexible. As soon as you actually understand 'how' it works, you can then make it your own. Things like MB Looks might have 'some' flexibility built in, but it's nowhere near as flexible (or powerful) as ColorGhear in the long run.
-
@b3guy you do know that all adobe products are 80% off for college students? I bought the entirety of production premium CS5.5 for 370$
-
are you planning to do any form of GHears for Davinci Resolve? I love the looks coming out of CGT, but I don't have Adobe or the $$$ to get it (and I'm a rare and strange breed of college student that actually thinks pirating is wrong). Black Magic Design has that free version of DR, I'm sure its pretty powerful, knowing them, but IDK if you can adapt GHears to that program or not. I'm sure there are other folks out there like me that would love to use your tools, but can't due to the cost of the program they live within.
-
@itimjim - nice. If you're on CS6 try the new Skin Tone LUT on the member download page instead of Green Kill... I think you'll really like it. Set it at somewhere between 33-50%, and you'll get that desaturated skin tone you're after without having to go so heavy on the Dense Night GHear
-
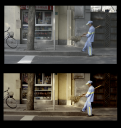
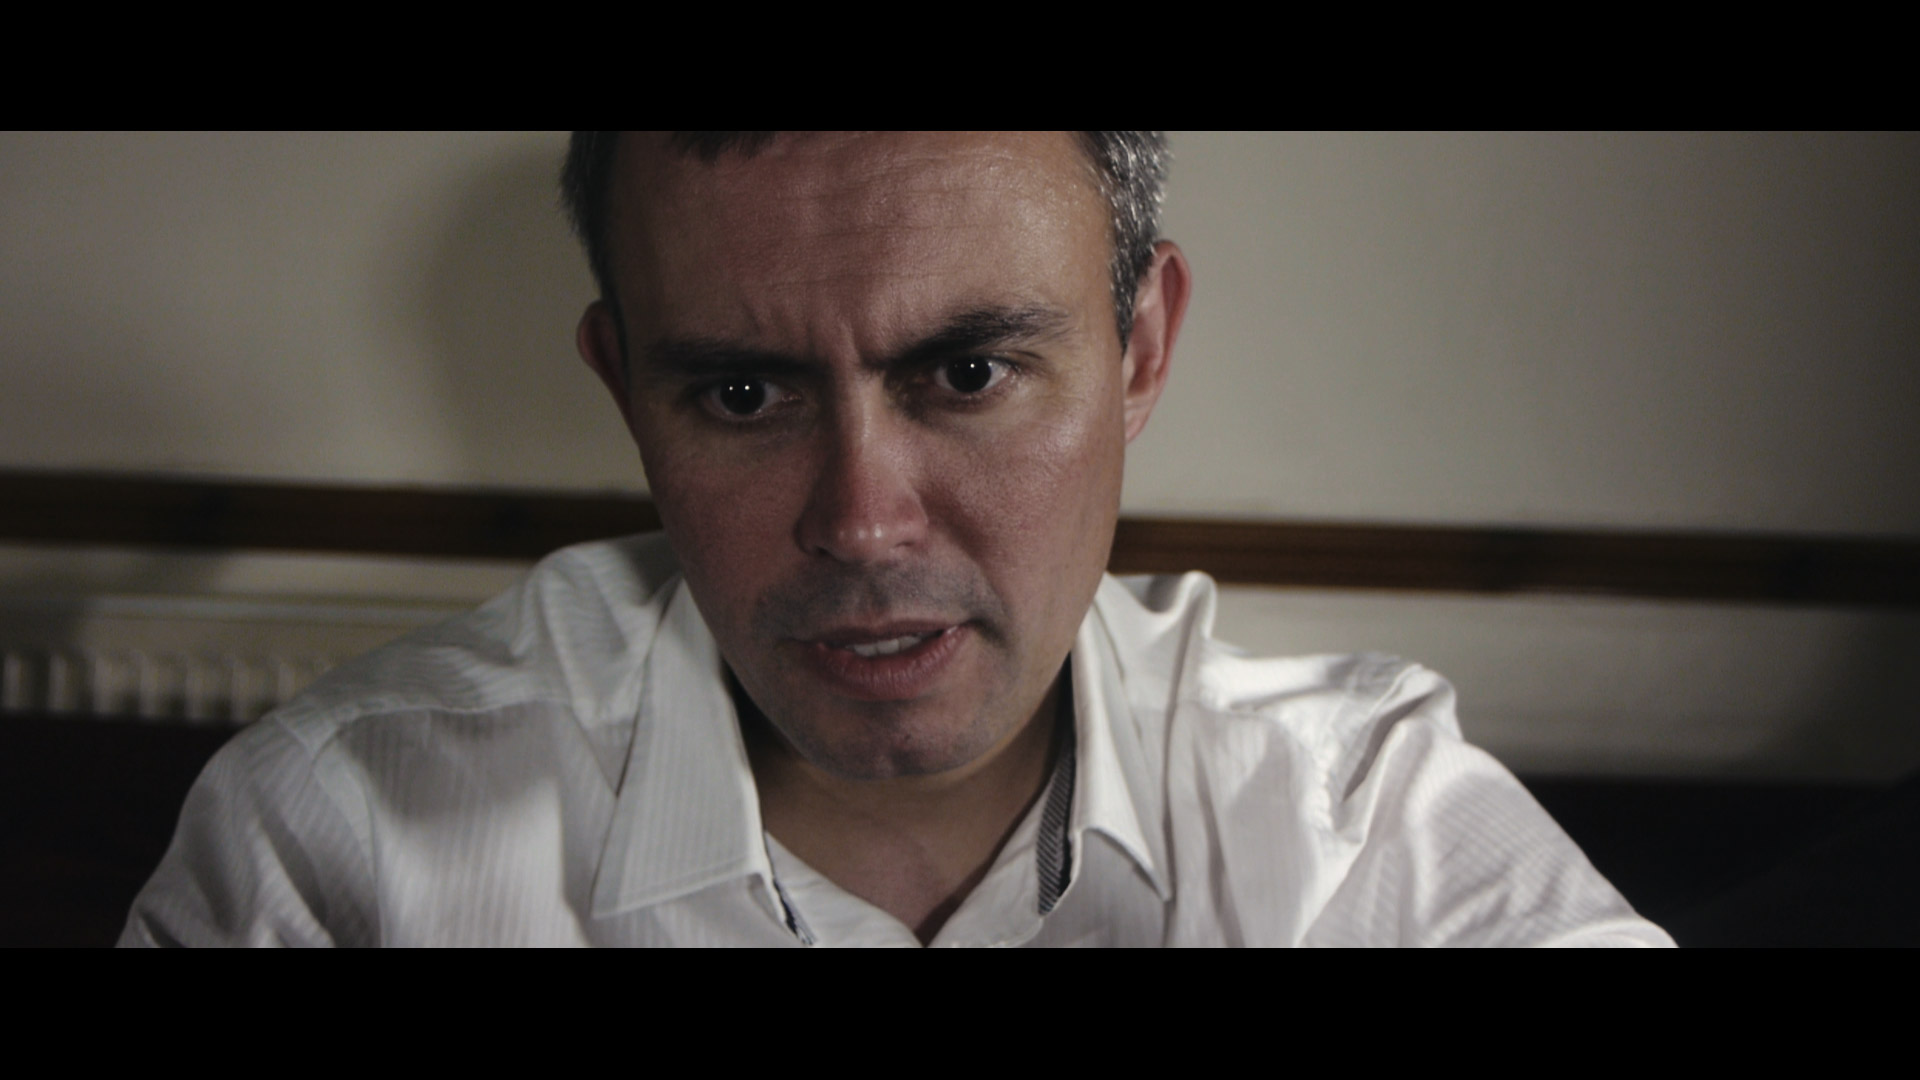
So here's a few grabs of a scene I'm grading now.
Out of camera:
Tech Pass (Colour Finesse direct on layer):
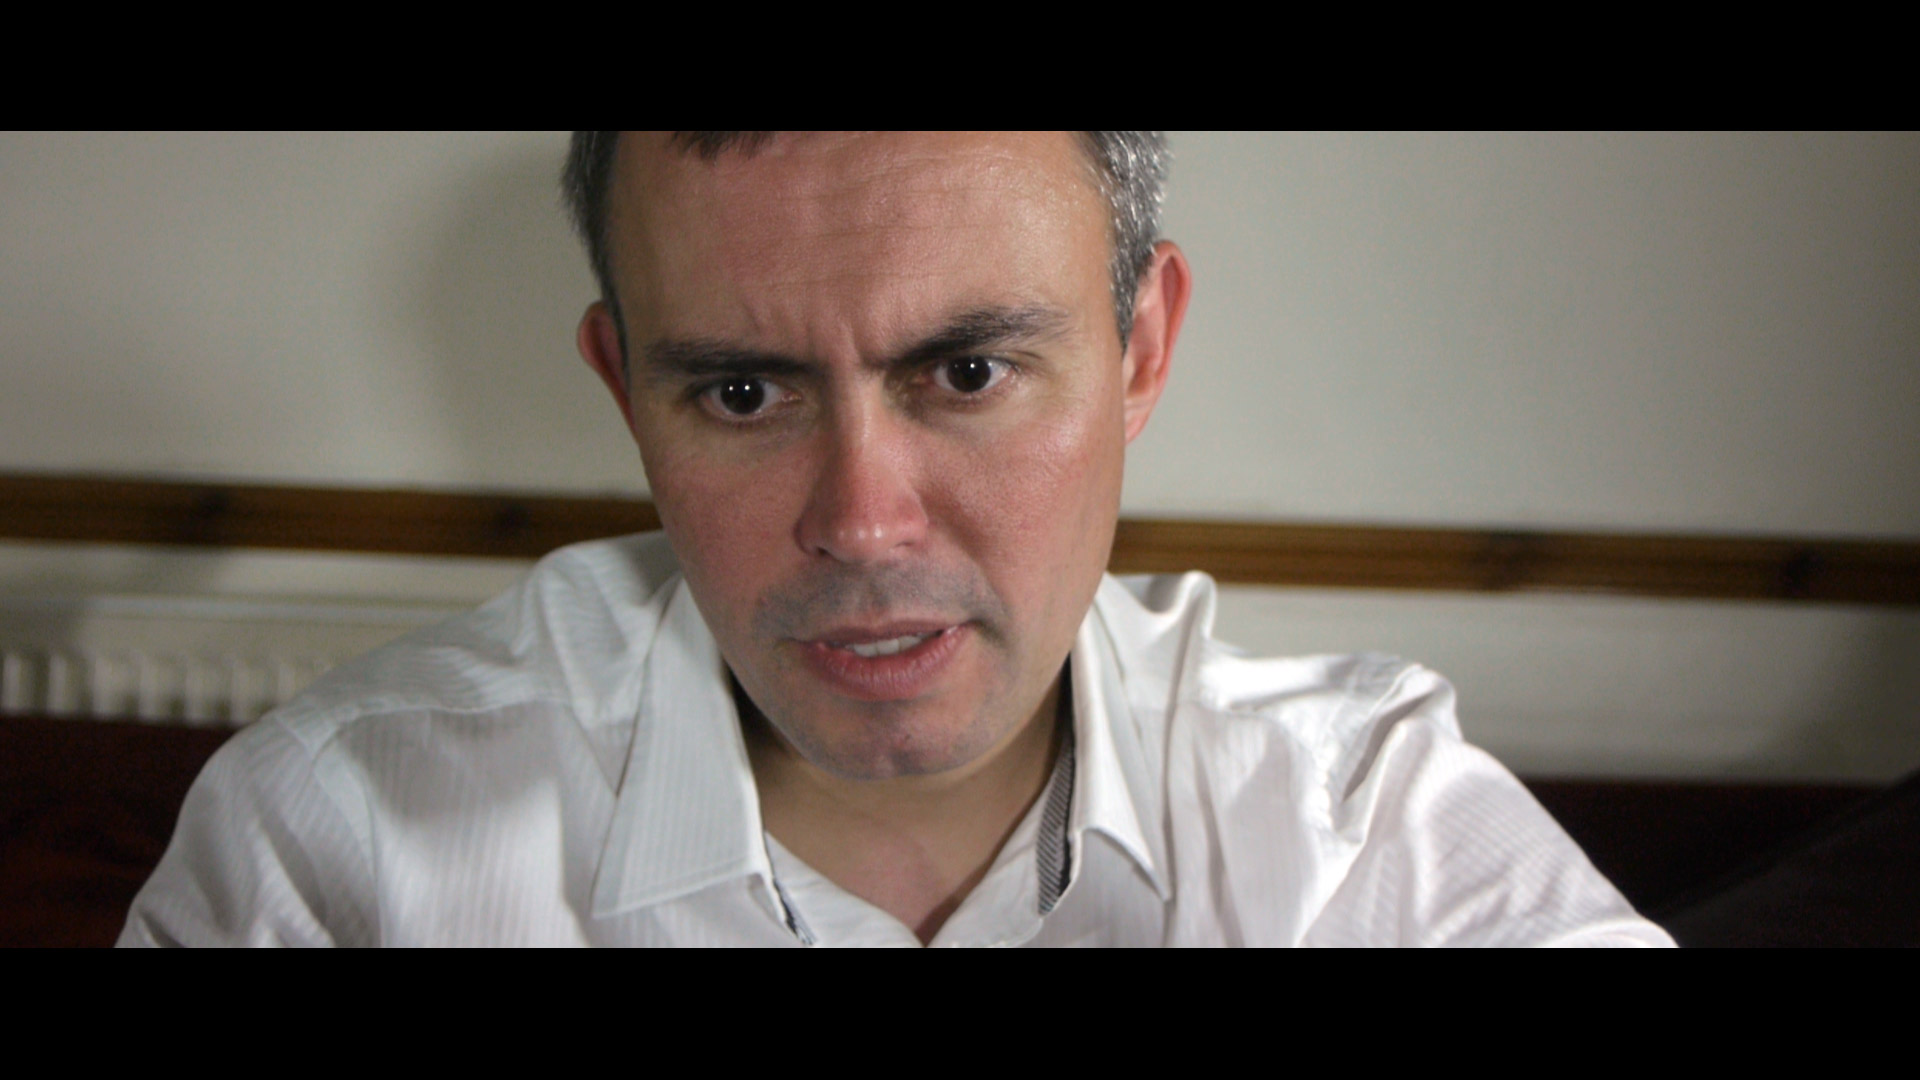
Grade Pass (Adjustment Layers): Green Kill > Shadow Lift > Dense Night (75%)
 Scene-1-(0.00.10before.jpg1920 x 1080 - 190K
 Scene-1-(0.00.10tech.jpg1920 x 1080 - 230K
 Scene-1-(0.00.10.jpg1920 x 1080 - 191K
 -
Nostalgic does boost the shadows but it heavily compresses the mid tone colors which is not good for skin tone. But expose in the 4 stop "Zone" - http://www.personal-view.com/talks/discussion/3773/expose-in-the-zone-getting-the-best-image-for-grading./p1 - and DR isn't a problem.
You shouldn't be using the upper and lower 20 percent of your DR for anything not white or black. Those edges of your exposure range are like the edges of your lenses, keep important things away from them because image quality goes down as you get further away from center.
@itimjim check out tutorial number 12 - "Tinkering with Ghears."
-
@shian possibly I'm doing it wrong, but this was the order I was using...from top to bottom.
- Density Night (70% opac)
- Spectral Enhancer (30-50%)
- Shadow Lift
- Green Kill
- [Footage]
- Color Finesse 3 (Tech Pass) - RGB adjustments - Luma mod - Levels adjustment
In almost every instance, when I add Spectral Enhancer, I get a whole boat load of colour that pops out of nowhere and makes flat areas ugly. I'll post some screens once I've finished this latest render.
-
@shian Again thanks for looking out for me --- I suppose next time Ill test shooting smooth then ( -2 all? ) but it doesnt seem to have the dynamic Range of nostalgic... at least initially that is why my feeble eyeballs told me... Armed with your testing knowledge....Ill be sure to look into shooting in smooth mode on my upcoming western- No Rest For the Wicked... I have till October so plently of time for pre-production perfection.
I really like the look of the Sedna stuff so Ill likely stick to Sedna.
-
Jason you might want to peep my tests on film modes - it is #3 on my list of best modes behind Smooth and Standard (which is as close to raw as you can get) Smooth has a very mild shadow boost but other than that it's identical to Standard.
http://www.personal-view.com/talks/discussion/3315/gh2-film-modes-matrices-and-dynamic-range/p1
I'm still compiling all the data, but Dynamic, followed by Vibrant and Cinema are the worst offenders in terms of what the profile does to the image especially the highlights - and not in a good way. And Nostalgic is stretching blacks in a major way and adding noise. Also see these threads for more on the subject
Skin Tone http://www.personal-view.com/talks/discussion/comment/62959#Comment_62959
Exposure for best grading results http://www.personal-view.com/talks/discussion/3773/expose-in-the-zone-getting-the-best-image-for-grading./p1


Howdy, Stranger!
It looks like you're new here. If you want to get involved, click one of these buttons!
Categories
- Topics List23,991
- Blog5,725
- General and News1,354
- Hacks and Patches1,153
- ↳ Top Settings33
- ↳ Beginners256
- ↳ Archives402
- ↳ Hacks News and Development56
- Cameras2,367
- ↳ Panasonic995
- ↳ Canon118
- ↳ Sony156
- ↳ Nikon96
- ↳ Pentax and Samsung70
- ↳ Olympus and Fujifilm101
- ↳ Compacts and Camcorders300
- ↳ Smartphones for video97
- ↳ Pro Video Cameras191
- ↳ BlackMagic and other raw cameras116
- Skill1,960
- ↳ Business and distribution66
- ↳ Preparation, scripts and legal38
- ↳ Art149
- ↳ Import, Convert, Exporting291
- ↳ Editors191
- ↳ Effects and stunts115
- ↳ Color grading197
- ↳ Sound and Music280
- ↳ Lighting96
- ↳ Software and storage tips266
- Gear5,420
- ↳ Filters, Adapters, Matte boxes344
- ↳ Lenses1,582
- ↳ Follow focus and gears93
- ↳ Sound499
- ↳ Lighting gear314
- ↳ Camera movement230
- ↳ Gimbals and copters302
- ↳ Rigs and related stuff273
- ↳ Power solutions83
- ↳ Monitors and viewfinders340
- ↳ Tripods and fluid heads139
- ↳ Storage286
- ↳ Computers and studio gear560
- ↳ VR and 3D248
- Showcase1,859
- Marketplace2,834
- Offtopic1,319
Tags in Topic
- gh2 1278
- gh1 196
- color 90
- grading 76
- effects 48
- after 47
- 5d 29
- correction 19
- 7d 13
- colorghear 11


