-
@No_SuRReNDeR that simple eh? nice effect :) really ive fallen into the camp of always using smooth all -2's (unless doing lowlight stuff) maybe i should try and break away from this....
-
@jakepowell I used the warm gradient at say 60% or so... also I ALWAYS for theatrical stuff shoot nostaligic -2 all.... I still believe It holds up the best in grading and gives me a more filmic image.
-
love those @No_SuRReNDeR what did u do to get that brown desaturated skies? @shian when can i expect advanced masks tutorial out? (sorry for impatience im just asking because im eager and curious)
-
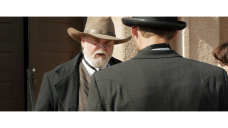
Here are some stills from the short I just DP'd ... playing with some grades in Color Ghear... Shot - All was shot Sedna C q20
 audiotest maybetomorrow Linked Comp 01alpha (00456).png1920 x 1080 - 3M
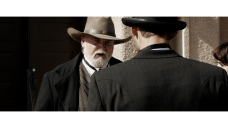 audiotest maybetomorrow Linked Comp 01 (00456).png1920 x 1080 - 3M
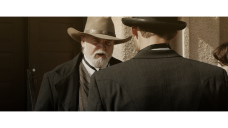 audiotest maybetomorrow Linked Comp 01v2 (00456).png1920 x 1080 - 3M
 audiotest maybetomorrow Linked Comp 01 (01653).png1920 x 1080 - 3M
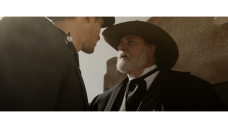 audiotest maybetomorrow Linked Comp 01v2(01653).png1920 x 1080 - 3M
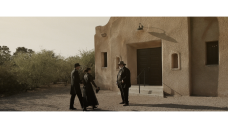 audiotest maybetomorrow Linked Comp 01v2 (00354).png1920 x 1080 - 3M
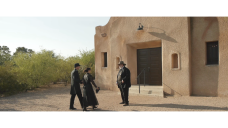 audiotest maybetomorrow Linked Comp 01 (00354).png1920 x 1080 - 3M
 -
A new thread to deal with the exposure end of ColorGHear. In which I discuss how the images in the previous post were created.
http://www.personal-view.com/talks/discussion/3773/expose-in-the-zone
Grading tutorial for this coming as well.
-
So a little treat for those of you using CS6 -----
I've uploaded a SpeedGrade Skin LUT for you all. Go to the Member Download Page - http://colorghear.com/member-download-page/ - At the bottom you'll find the link. Download it. Create a folder called LUTs, and unzip it into that folder.
(Be sure to put it somewhere where you'll know where to look for it. I have a ColorGHear folder on my desktop, and all my stuff goes in there.)
To implement it: Create a new adjustment layer, right click the layer, or right click in the effects controls panel and go all the way down to the bottom to Utility> Apply Color LUT, it will ask you to pick the LUT you wish to use, navigate to where you unzipped the file, and choose it. It applies the LUT to that layer, then you just mix to taste. This one is designed to kill green in skin tone, and overall give it a more organic film-like texture.
I use this on almost all my GH2 footage in place of minus green because it mostly targets just skin tone. (Although I set the bleed tolerance to a pretty soft setting) I usually mix the layer down to between 33-50%, but use as you see fit. You can also try masking off the area you want affected if it is changing the surroundings too much do to the softness. But it will for the most part act as a secondary color selection.
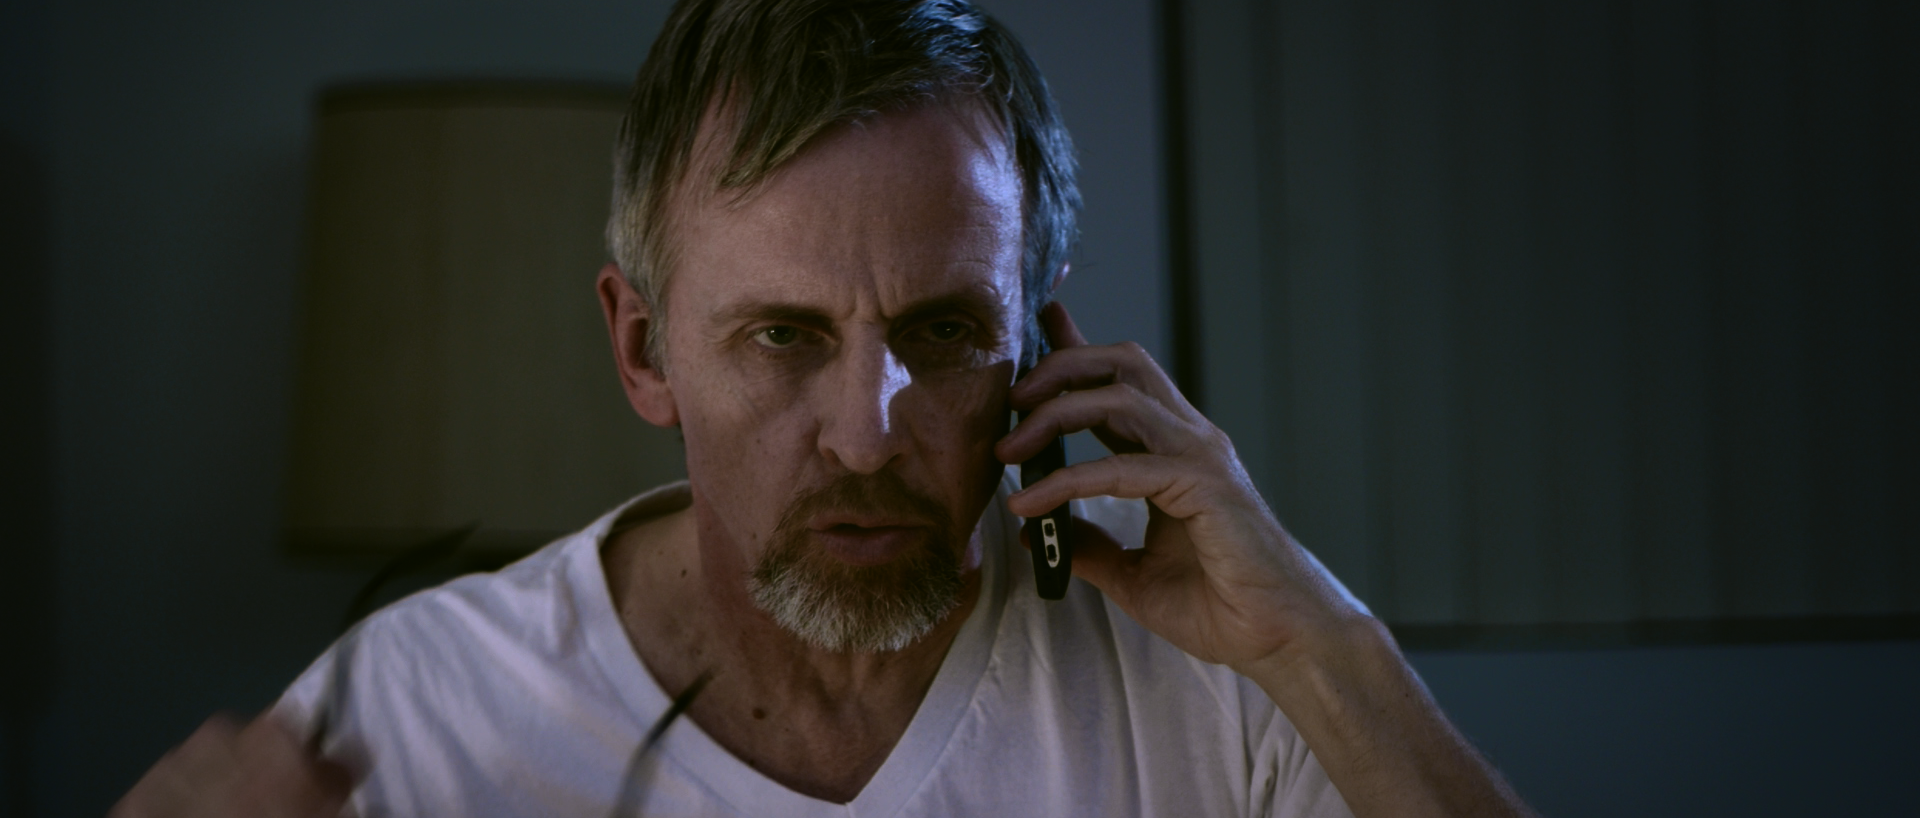
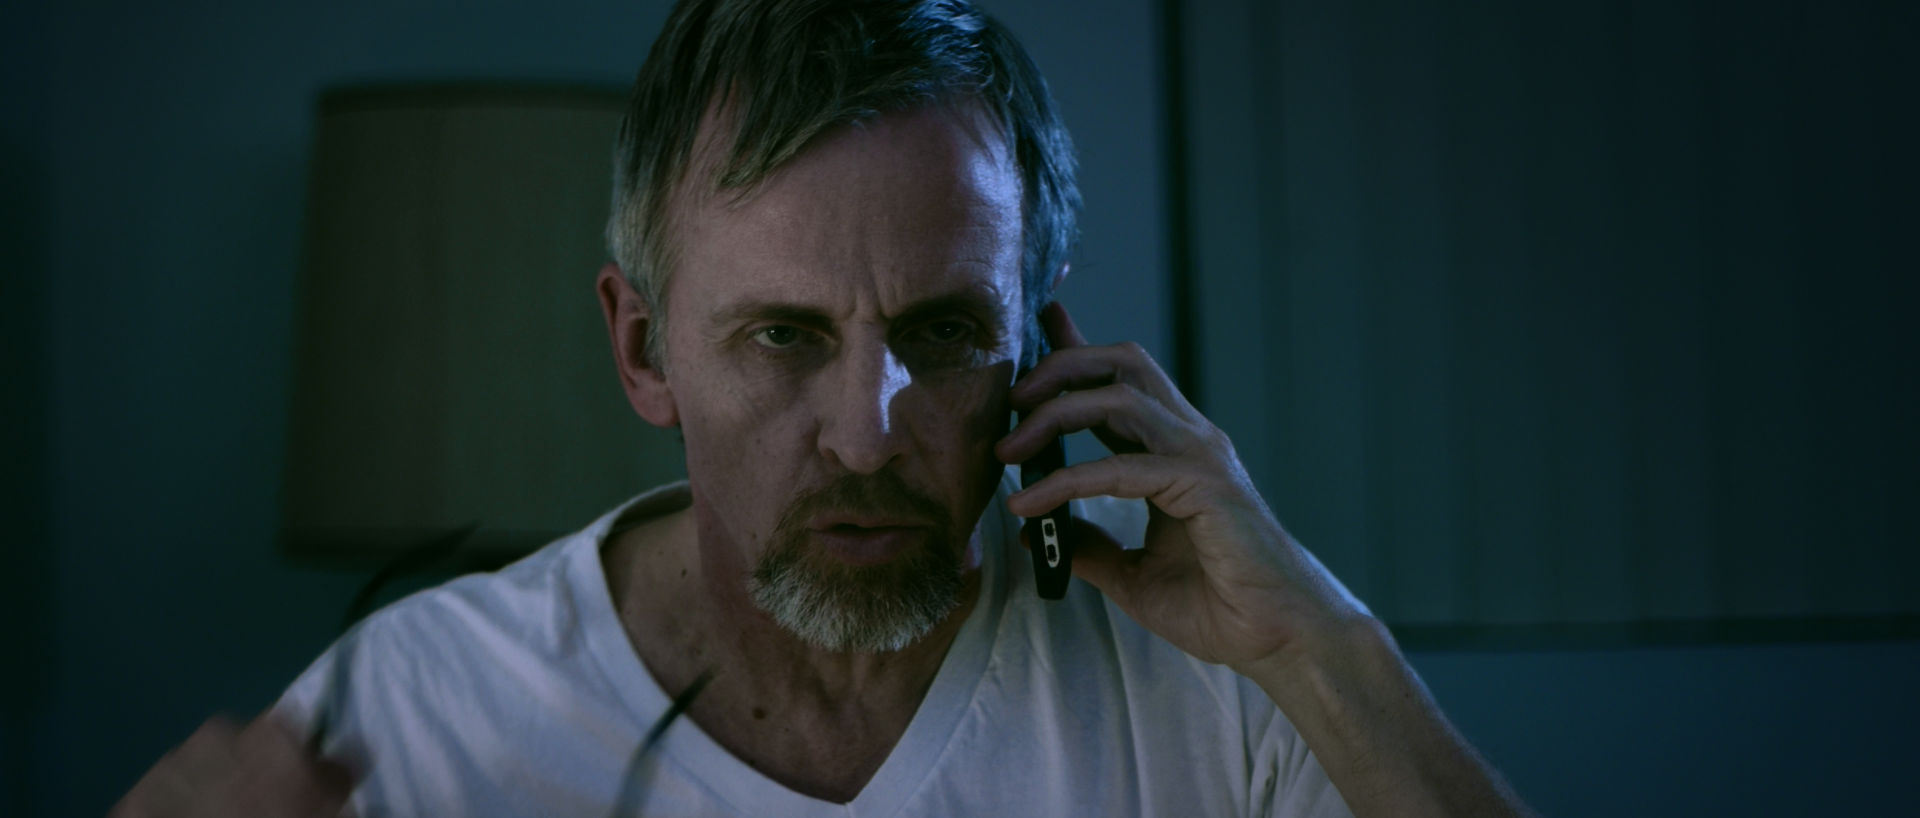
I used it on the grade below to get a more natural tone on his skin. The rest of the grade is (from the bottom up) - a very light power window on the left side of his face, Skin LUT, Shadow Lift, Toner, CineGhamma, and ColorFist, with a custom vignette to darken the edges. The skin LUT goes on the bottom of the stack just above the power window. The only difference between the 2nd and 3rd image is I bumped the mix on the LUT up to 50% from 33%, and tweaked the 3-way on the ColorFist layer.
Enjoy!

 Bedroom Night CGT.png1920 x 818 - 4M
 Bedroom Night RAW.png1920 x 818 - 4M
 Bedroom night SteelBlue.png1920 x 818 - 6M
 -
@shian i understand (more now) thankyou. i am actually up to cs6 thanks to my university :D the luts sound great cheers shian it really is helping me along :)
-
@jakepowell - you'll find out in a later tutorial that I was color keying the footage, but then stated that the process was too inconsistant. Sometimes, like in that particular case it worked great, and almost always works with R3D footage, but was hit and miss with DSLR footage. For secondaries; I now use SpeedGrade to set up the secondary, save it as a LUT, and import it into AE. Or if you are not using CS6 yet, you can still use Color Finesse, and I think I demonstrated that in the most recent tutorial.
I will soon release a set of skin tone LUTs created in SG for you guys to use. I'm finding that the 3 LUTs I created seem to work almost universally, unless the skin color is just wildly off.
-
A thread I think all you GHear Heads should follow, or at the very least check out.
http://www.personal-view.com/talks/discussion/1937/finding-face-exposure-on-gh2#Item_45
-
@shian . firstly i would like to say i just bought this and it is giving me hours of fun and teaching me with such ease up such a steep learning curve (first time grading and the fact you help set us us with tutorials and film classes etc is just increadably valuable) ... however theres one tutorial bit i dont understand... how do you get secondaries in colour fist?? do you use colour finness for the secondarys? you seem to show us how to play with colorfist and thats all great but then sudenly you bring the secondaries back in and are like boom "anyone want a magenta dog" and im here scratching my head.... sorry complete noob but to anyone wondering is this gear good.... it really really is!!! plus £26! absurd!!!!!!!!!
-
CasiMiniFest 6: Sixth edition of an independent electronic music event based on a beautiful seaside town in the north of Spain.
Nightmarish job and a lot of fun at the same time: There were screens and lights flickering at different frequencies all over the place. If that wasn’t enough, even with the Voigtländer 25 wide opened at 0.95 and the camera set to ISO3200, massive parts of the frame were still underexposed by 1.5/2 stops most of the time (if you were to trust the flawed in-camera metering).
Shot on a hacked GH2 with Sedna AQ1 C. Graded in ColorGHear for After Effects.
-
@shian I expect you already knew this about GHears, but I'm working on a particularly long Doc that's been 2 years in the works. I have a lot of cameras involved including GoPro's.
The GP's are great little cameras as long as there's plenty of light and I don't expect much in the way of color depth, Etc.
I used GHears on a clip that was shot in the rain, hidden from a TSA Agent, and was pretty dull and lifeless. GHears turned it into usable, decent video. The Spectral Enhancer is magic.
I'm loving this more all the time!
-
@shian, hey thanks for the generous comments. Thanks so much for your inspired product, and the great tutorials that you lovingly placed online week in week out! I know the amount of time you have put in, we all only have 24 hrs a day, so hats off to you!
Some pp have written to me asking if they should consider buying ColorGHear. Let me say here, that it is a powerful software, and it can do ALOT if you understand the basics of colour grading. I highly recommend it!
@Mark_the_Harp Thanks dude for the comments. Yeah, as with all location shoots, the conditions were less than ideal. But luckily, the guys working on set have done broadcast and film for many years, so they really helped circumvent those tricky bits.
-
@IndianaPete Yes, but that doesn't take advantage of adjustment layers and pre-compositions.
-
Have you tried "Dynamic Link"ing from PP to AE, use CGT and then rendering from PP? It's worked for me.


Howdy, Stranger!
It looks like you're new here. If you want to get involved, click one of these buttons!
Categories
- Topics List23,991
- Blog5,725
- General and News1,354
- Hacks and Patches1,153
- ↳ Top Settings33
- ↳ Beginners256
- ↳ Archives402
- ↳ Hacks News and Development56
- Cameras2,367
- ↳ Panasonic995
- ↳ Canon118
- ↳ Sony156
- ↳ Nikon96
- ↳ Pentax and Samsung70
- ↳ Olympus and Fujifilm101
- ↳ Compacts and Camcorders300
- ↳ Smartphones for video97
- ↳ Pro Video Cameras191
- ↳ BlackMagic and other raw cameras116
- Skill1,960
- ↳ Business and distribution66
- ↳ Preparation, scripts and legal38
- ↳ Art149
- ↳ Import, Convert, Exporting291
- ↳ Editors191
- ↳ Effects and stunts115
- ↳ Color grading197
- ↳ Sound and Music280
- ↳ Lighting96
- ↳ Software and storage tips266
- Gear5,420
- ↳ Filters, Adapters, Matte boxes344
- ↳ Lenses1,582
- ↳ Follow focus and gears93
- ↳ Sound499
- ↳ Lighting gear314
- ↳ Camera movement230
- ↳ Gimbals and copters302
- ↳ Rigs and related stuff273
- ↳ Power solutions83
- ↳ Monitors and viewfinders340
- ↳ Tripods and fluid heads139
- ↳ Storage286
- ↳ Computers and studio gear560
- ↳ VR and 3D248
- Showcase1,859
- Marketplace2,834
- Offtopic1,319
Tags in Topic
- gh2 1278
- gh1 196
- color 90
- grading 76
- effects 48
- after 47
- 5d 29
- correction 19
- 7d 13
- colorghear 11


