-
I don't think Greenkill works the way you're thinking. It compensates for the universal green cast on the GH2. It's not a spill suppressor. If you're using it with greenscreen apply it AFTER collapsing/nesting your layers
GHrainkiller works better than NV [IMO] in that you can adjust how it selects and eliminates noise in various channels. But it is slower.
but no, there's no loss of green data by using either GK or GHrainKiller.
-
I went through the tutorials - the ones on the website right ?
I used to denoise with NeatVideo and then process the chroma with Keylight. Should I replace NV and go MTS -> GHrainKiller -> Keylight ? Also for spill shall I add Minus Green or Green Kill. So MTS -> GHrainKiller -> Keylight -> Minus Green or Green Kill
I just want to make sure that I am not losing information from the green channel, when I do minus green or green kill.
-
GHrainKiller uses an algorithm to reduce blue and red noise. The tutorial explains it all.
-
@shian A question regarding Skin Tone LUT, Minus Green and Green Kill. I have greenscreen footage, not well lit. I do not want to use keylight to reduce spill as the green channel is also luma. And spill reduction darkens the image, basically removing from green.
Do you use the green channel to fill in the noisy Red and Blue channels in any of these presets ?
-
The way the Lumetri panel/workspace works in PrPro 2015, the "Basic" tab will take any type of LUT, whether CUBE, Look, itx, ilut, whatever. There's a way to get your LUT's easier found within that than the full navigate-to thing, but I don't have PrPro available at the moment, so can't answer that. You can always navigate to the folder you have your Ghears in. They'll all load fine.
And to get them usable in the Creative tab's "Look" drop-down, you need to open SpeedGrade with a "clean" totally unadjusted clip on the timeline, use the " + " icon below your layers palette to open the pop-up window and choose "Film" ... which brings up the LUT options ... and use the three little dots to the right of the drop-down LUT box to navigate to your folder of Ghears.
Apply one to the clip, then save as a Look file ... copy that Look file to the right folder in PrPro, and it's now available as a Look on the Creative tab. I have the whole process down on a post in the last couple weeks on either the Editor or Grading thread here ...
The one thing to realize is PrPro applies the actions to the clip in a sequential, top-to-bottom manner. So ... you apply a Ghear via the Basic tab, EVERYTHING you do past that in Lumetri there will be done after that Ghear.
In order to get things in the right order, sometimes you need to use the Effects panel, and use a couple instances of the Lumetri panel putting things in ... and then doing things above or below them ... to control how you want effects layered.
Neil
-
@shian Used your Solid LUT (and also the green kill) the first time some days ago on GH4 vlog footage and am pretty happy for this first result! Not perfected, but hey, its just a vacation vid ;)
-
@adamquesada I finally got around to playing with PP 2015 and you won't need to install LUT Buddy to be able to use CG Pro - the tutorial is the same, but you can apply LUTs directly to adjustment layers from Lumetri.
Don't know if you can import the whole CG Pro package into a preset folder yet, but maybe @rNeil knows.
-
Cool let me know what you think of it.
It's also a beast inside Resolve. So once you make that move, your workflow won't change, and you'll get the same power.
-
@shian CG for AE has been our main grading tool, I will try PRO for PP! Thanks for the sale.
-
Holiday pricing is in effect
CG Pro $50
CG Pro Plus $75
Upgrade from CGT to Pro Plus for $20
-
Has anyone tried the new CG Pro V-log LUTs on their v-log footage, or... any footage for that matter? Just curious if it's working for you guys.
-
Remember the GH2's infamous "green shift" that would be baked into the footage, and we all wondered why the footage came in that way? Well, it looks like it was all part of the color science that made the GH2 so awesome. And it's back with V-log.
After spending time with the Alexa curve which is almost identical to the V-log curve but gives it that oh so familiar green tinge to the image. I think I discovered why that tinge was there in the GH2. This interpretation helps greatly mask the blocking. So now the trick is eliminating the green without the blocks jumping out, and without darkening the image.
Luckily for you guys the Minus Green and Green Kill LUTs work perfectly in this capacity just as they did with the GH2.
ALEXA C-log
EASY which is my own take on Alexa's curve but with Minus green applied and a very very subtle mid boost.
Using C-log and adding GreenKill or Minus green will give you similar results only without the gentle mid boost.
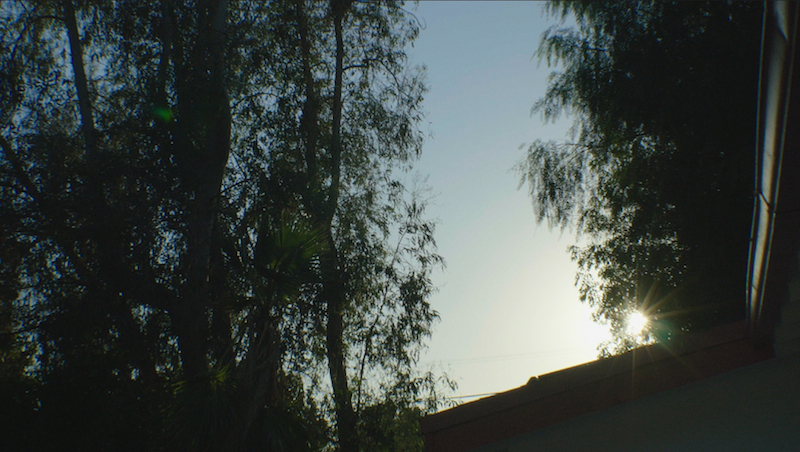
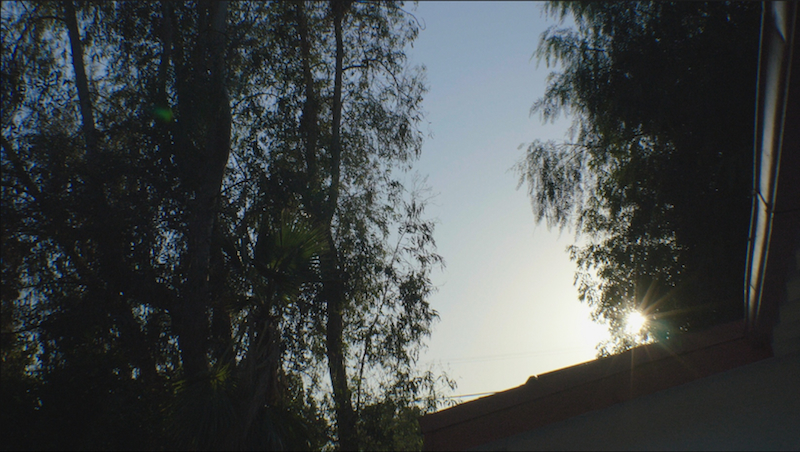
https://www.flickr.com/gp/76276262@N04/1DQ128 end of the roll for higher res
 sun alexa C-log lut.jpg800 x 452 - 489K
 sun CG Pro EASY lut.jpg800 x 452 - 485K
 -
The LUT total is up to 5
SOLID should be the 1st one you reach for.
LIMIT is second, raises mids, and clamps highlights
GENTLE is very subtle, doesn't stretch the H and L's out too far from the middle
WRANGLER is for white walls and sidewalks, etc. Still not perfect but an improvement
VARIABLE leaves the saturation alone and allows you to move it up or down on your own, cuz increasing or decreasing it causes a chroma shift. Almost like the tint slider in Photoshop.
Remember these aren't a drag-and-drop-and-then-you're-done solution, these are to give you better starting points for grading.
They are available on the Pro Member page, and come standard with the Pro LUT package. Tutorials for how I use them are coming.
-
And you will get them. I'm in the process of cleaning out my garage so I can shoot extensive tutorials on the subject in various lighting scenarios and the now dreaded white wall/ gray wall.
-
I would personally like new videos talking specifically about the GH4. An exposing in the Zone V-Log Sequel and a V-Log L color correction and color grading video.
-
reposting cuz it is now more relevant than ever with the release of V-log. ColorGHear allows non-destructive grading of your 8bit footage. I've defied what everyone said about the GH2 and it looks like I have to do the same again regarding the GH4 and V-log.
-
cool. looking forward to it
-
SOLID and LIMIT V-log Interpretation LUTs are now available for download and testing on the Pro Users page.
SOLID is just what the name implies. A very solid true interpretation, placing middle gray at around 45 and retaining the full spectrum of color.
LIMIT moves middle gray up closer to 50, and clamps the highlights. You may notice some chroma blocking using this one on gradient skies with wide DR, but on everything else. It should work fine.
These may not work under Premiere Pro and Speedgrade yet. Tested in Resolve and AE, and FCP-X.
-
How did you already get your activation?
-
After I've done extensive testing with the new firmware update, ColorGhear Pro users will receive a few all new LUTs for use with V-log including new tutorials, as well as 3-5 different interpretation LUTs that will fit in nicely with your current set.
-
What the hell went wrong?
So I'm watching 2 movies the other night trying to apply the principles of the tutorials on composition I'm still producing, and I'm just stumped.
"Fury" - Incredibly well thought out and shot, really fantastic!! (Ayer and Vasyanov) and "The Equalizer" - A complete shitshow (Fuqua and Fiore)
Now, either "Fury" had comprehensive storyboarding that was followed to the letter, or an amazing tandem of Director and Cinematographer who were both in alignment with how the movie should be shot. Judging by the almost flawless composition and in some cases brilliant composition, I'm gonna go with storyboarding with a lot of Vasynov's input... as Ayer is hit and miss.
But with "The Equalizer" I'm totally befuddled. I now have to go back and watch the other movies Fuqua and Fiore have done together, cuz I know Fiore knows his shit. But maybe they had no pre-production to plan everything out, and maybe neither he nor Fuqua can compose shots on the fly... cuz it's just fucking awful, it was distractingly awful.
-
Fascinating. Something to what you're suggesting. Been a stills pro portrait shooter nearing 40 years, worked hard at keeping a three dimensional feel in my work. Since working with video, wow ... it isn't just working on multiple planes but becoming VERY aware of vanishing point ... in every shot. What are the vanishing point lines and how do they relate to/with or even against the subject? That seems SO important now.
And Mass ... it isn't just stuff in the view, it's objects with Mass. What "feels" more heavy/dense Mass, what feels less so?
Watching that video on the drawing tool, it was good to see how they clearly apply vanishing lines and mass concepts in building that image ... keep posting, Shian, you're a good teacher.
Neil
-
So I'm working on a pretty extensive look at Blade Runner for the Film School course, and in it, I talk about how to translate the 3d world into 2 dimensions and then into something you can use to make better images. And one of the things I am suggesting to EVERYONE is that they take some sort of an art class... mostly to learn about perspective and composition.
This class is amazing! And it's only $15 http://artstudyonline.com/rc01/course/ipad-artist-environment-perspective
I highly recommend it to anyone who wants to be a cinematographer and/or director. One of the things that lent itself heavily to Ridley Scott's vision was his background as an artist and art director - his ability to translate the 3 dimensional world into 2 dimensions, and his ability to draw. I'm not saying you have to learn to draw. I am saying you should UNDERSTAND drawing techniques because they will change the way you view the world, and subsequently they will change the way you shoot. I can't draw very well, but I understand the techniques employed and when I learned them it changed the way I view the world when it comes to shooting.
-
John Legend concert that I lit back in May. One of the most challenging setups in my career. I had to light the whole club for three simultaneous cameras and do a separate setup for the Commercial spot we shot just before the show that aired during the Billboard Music Awards. But an example of how a bad colorist can mess up good lighting. John's skin is green. We shot on RED Epics, so there's no excuse. I really wish I had the raw footage from this shoot so I could make it look the way it was supposed to look.
In case u r curious - The Camera operator you see down on the floor @ 1:31 shooting the close up is me.


 IMG_4061.jpg3264 x 2448 - 1M
 IMG_4056.jpg3264 x 2448 - 2M
 IMG_4055a.jpg3264 x 2448 - 1M
 -
It's possible. With the 3rd party LUT Utility it still functions the same way, but I don't really recommend it as the stacking order with the color correction node is confusing. It uses the in-app color correction first, but won't allow you to do any further tweaks after the LUTs. And changing your mind is a pain. There's a lot of deleting nodes, and then having to copy and paste attributes.
If you can get Resolve to at least operate on your system, whether or not it will render fully, you can export your work as a LUT from Resolve (I show you how) and apply it in FCP-X. Resolve is the best place to learn. AFX is 2nd best.


Howdy, Stranger!
It looks like you're new here. If you want to get involved, click one of these buttons!
Categories
- Topics List23,912
- Blog5,718
- General and News1,331
- Hacks and Patches1,148
- ↳ Top Settings33
- ↳ Beginners254
- ↳ Archives402
- ↳ Hacks News and Development56
- Cameras2,342
- ↳ Panasonic984
- ↳ Canon118
- ↳ Sony154
- ↳ Nikon95
- ↳ Pentax and Samsung70
- ↳ Olympus and Fujifilm98
- ↳ Compacts and Camcorders295
- ↳ Smartphones for video96
- ↳ Pro Video Cameras191
- ↳ BlackMagic and other raw cameras116
- Skill1,959
- ↳ Business and distribution66
- ↳ Preparation, scripts and legal38
- ↳ Art149
- ↳ Import, Convert, Exporting291
- ↳ Editors190
- ↳ Effects and stunts115
- ↳ Color grading197
- ↳ Sound and Music280
- ↳ Lighting96
- ↳ Software and storage tips266
- Gear5,407
- ↳ Filters, Adapters, Matte boxes344
- ↳ Lenses1,577
- ↳ Follow focus and gears93
- ↳ Sound496
- ↳ Lighting gear313
- ↳ Camera movement230
- ↳ Gimbals and copters302
- ↳ Rigs and related stuff271
- ↳ Power solutions83
- ↳ Monitors and viewfinders339
- ↳ Tripods and fluid heads139
- ↳ Storage286
- ↳ Computers and studio gear559
- ↳ VR and 3D248
- Showcase1,859
- Marketplace2,834
- Offtopic1,314


