
It allows to keep PV going, with more focus towards AI, but keeping be one of the few truly independent places.
-
New to the camera.
With video cameras, I usually expose faces to 75%IRE, using zebras set to 75.
How can this be done on the GH2. Record Highlight is locked at 100%, no? I've never used a Histogram and will study it if that's what people use for accuracy.
Thanks!!
-
For some reason with the hack, I am not able to change color temp in WB. Any body know how I can resolve this?
-
The GH2 is a bunch sharper than any Canon DSLR and if the shot is already in focus then all that adding sharpening will do is generally make things look worse. When Magic Bullet Looks first appeared there was plethora of 'overcooked' looking video clips appearing all over the web (ala CSI Miami etc). Must have been a preset that became fashionable I guess. Within about a month I was saying "Enough already!"
-
@shian i play a little bit with a frames u post ... "Target Range" is best way to get "film like" results ... thanks for tutorial ....

 5c35df09797ebb5e284c54550a618c.jpg1720 x 733 - 369K

 870cef18aeb859d83b5da16db6498b.jpg1720 x 733 - 374K

 d3b3ee6cdf433bfb635c72f8957bc3.jpg1720 x 733 - 417K
 -
Gotcha, thanks for the honest response. Yeah, as long as you get the skin tones where they should be cinema (and other modes) you'll be golden though. Interesting about the noise on manual white balance... hmmm.... I wonder if what it does is reset the iso-bug? So that maybe after a manual white balance, one should take precautions to avoid the iso bug? Just a conjecture.
(Also, I'm kind of partial to cinema's color rendition (I know it's lacking in some other areas). But someone a while back claimed that cinema really just is standard with a contrast curve applied to it. I don't know if that's right. When I did a quick n dirty face exposure test, the skintones looked different in both.)
-
Initially by setting the WB to 3200. I also tried sampling the gray card, BUT manual WB added noise to image, so I went back to 3200, and so I don't think I have any recorded shots with the manual WB on this test, I'll have to look. (to my knowledge I'm the only one reporting a noise problem when doing manual WB, so it might be time to test it on other cams to see if its just my specific camera that has this issue.)
(not totally unrelated; the detail on the skin is falling apart in addition to the green tinge, making it a less attractive option)
-
@shian You write: "There is some really weird stuff going on in the highlights of Cinema and Vibrant, where skin tone turns green. The screen caps below show this." And you show some stills to substantiate this with cinema. I've noticed this too... but I notice that this goes away if you manually white balance off of a grey card--relying neither on the Kelvin scale nor the in-built daylight, tungsten, etc. white balance presets.
Can you confirm this? How did you white balance for those stills?
-
I am a totally new to shooting video, and proper exposure has been a bit of an obstacle for me. Is there a book or on-line reference that explains this in details that a neophyte can grasp. BTW, Shian's colorghear.com tutorials are very informative, but I lack some of the requisite knowledge to comprehend some of the details. Any advice on learning this part of the craft would be appreciated.
-
Amazing findings @shian.
And Smooth underexposing 2/3s of a stop is correct. When I got my L308DC I noticed that the metering in camera compared to the meter was off and by setting EV to -0.6 it was correct (meaning 2/3s of a stop underexposed). But a great find, otherwise I would have underexposed my material by 2/3s, going by the in camera metering, not waveform.
-
Since the actual "Zone System" Tutorial is a far from being completed, I figured I'd try to at least shed some light on the subject. ColorGHear Film School subscribers already know about the "target range" and "skin tone range" for the GH2.
But for the rest of you I created this thread (Complete with Tutorial video) to explain the 5 stop "Target Range", and how I use it. (when you hear me say 4 stops, I'm talking the difference in stops)
http://www.personal-view.com/talks/discussion/3773/expose-in-the-zone
-
Everywhere I go, I take the little light meter (LM). On a cloudy day, LM read 12 and 2/3 EV, surprisingly high number, and I thought the light must have been trapped and bouncing back and forth between cloud and ground. Just like getting used to eyeballing FOV, getting used to eyeballing EV seems quite useful.
-
@shian Thanks for the detailed answer, much appreciated :)
-
Yeah, Tony. I would take a razor and some ink and mark 1/50th like I did on mine just to help with the readings, but yeah. (also wear leather gloves so you don't slice open your hand).
Shooting with "Smooth" the meter will give you a 2/3-1 stop difference over the in cam meter which will put you at around 54-60% which is perfect exposure for skin tone. If your in-cam spot reads +2/3 when the lens is set to the settings coming off the meter, then you're in good shape. But before using it in the field, do some gray card tests, and see what you get.
And remember if you switch to other film modes, refer to the tests earlier in this thread. Especially Nostalgic which has a low and mid boost. And cinema and vibrant which go all funky in the highlights.
-
Thanks for pointing me back to the video. Dont know how I missed it.
So basically, I can take a reading with the meter at my subject using the ISO I have dialed into the camera, match the EV reading to the dial, match the fstop to the shutter speed I'm using and that's basically good?
I know there's probably more to it than that, but that's the simplified version ( for simple people like me... )right?
So realistically, I can almost disregard the in camera meter using this method?
Sorry for all the questions, but I turn 50 in a few days and I'm running out of time....
Tony
-
@sam_stickland - the drawbacks are that you may not always have that monitor. And believe it or not, unless you have enough experience with it to know from eye-balling, or can measure how many stops you need to correct an area of the image, FC will actually slow you down. I use a TV Logic monitor when I can, so I have focus peaking, a WFM and FC, and I never go anywhere without my meter. I love FC, but mostly just to pinpoint problem areas that are stacked on top of each other on the WFM. All three used together give you incredible accuracy and security, and speed which is critical. FC alone without a meter or WFM can actually be a hazard.
I was visiting an indie set that a friend of mine was a producer on. He wanted me to DP the thing, but because I was already on a gig, he had to hire another DP. That DP cancelled a week before the shoot was scheduled, and my friend had to find someone to replace him at the last minute. (This is never a good thing.) So he hired a guy with an impressive website who owned his own RED package. My gig ended in the middle of his shoot. So I went to hang out with my friend. We're in video village which was a good enough distance away from the set, and I'm watching this DP basically playing battleship with scrims and diffusion going only off the false color reading, and I started laughing. I shouldn't have, but clearly he had no idea what to use to correct the exposure, or how many stops it needed to be knocked down to get the shot the way he wanted. My friend was so frustrated, "Everyday with this shit! He is killing my schedule. Why is it taking so long?" And I didn't want to throw the guy under the bus, but I had to tell my friend, "I don't think this guy knows how to use a light meter. A - cuz he's not using one, and B - because I can tell just by looking at the image that he needs a double-double on that 2K back there, and, likely, a half double screen on this 1K over here, so the girl sitting closest to it won't blow out. Every time he dims that 1K with a dimmer the girl over here gets under exposed, and he's trying to compensate by using this light over here which is completely unflattering." And I could instantly see all of that from my experience using a meter, and learning to see contrast (and it's resulting stop-difference) just by eye-balling the monitor. But that comes from years of using a meter.
To finish the story, I told my friend to call the gaffer over. I asked him if he had a meter, and if he knew how to use it. He did. I then told him what he needed to get the shot where it needed to be, and my friend the producer told him to do as I instructed. The gaffer made the corrections. The DP, was stunned that the shot was suddenly where it needed to be. A quick exchange happened between the DP and gaffer, the gaffer pointed over at me. The DP walks over with the gaffer, and asked who the fuck I was, and how I knew that would work. I handed him the gaffer's meter, and said, "This is a Magic 8 Ball. Ask it anything you want to know about light, and it will tell you the answers." It was kind of a dick move, but I have little patience for people who call themselves a "Cinematographer", who don't know the first thing about the craft. He bought an expensive camera with some great tools and plenty of latitude in the image, and he thought that would instantly transform him into a Cinematographer. It won't. The craft is both art and science.
Now I'm not saying you're anything like this douche nozzle in the story, but an impressive reel or site, or gear list will get you hired occasionally, but what will get you big gigs is speed without sacrificing quality, and the best way to speed up your setups is by using a meter... at least until you have enough experience to where you know almost before you click that button what it's going to tell you.
-
@shian What about using a monitor with false colour rather than a light meter? Any drawbacks, or just different?
-
@tcarretti are you referring to the zone system, or the meter itself? Cuz I demonstrated how to use the meter already. The zone system is pretty complicated, and daunting at first, but the link I posted under that tutorial heading gives you a basic overview of the system. Granted, its in text and image format, and not video, but you may want to try and figure it out just from that. Download the still images from that site, and plug them into the WFM in your NLE. At the very least it will give you a head start on the system, so you'll be ahead of the curve once I have the video done.
I learned the basics from reading about it when I was in training to be a colorist (required reading), and then doing just that - analyzing footage in a WFM. And then later translated that knowledge to cinematography by experimenting - shooting things and looking at them on the Waveform Monitor, like the stills above showing the WFM and how it reads the gray card and my skin vs what the camera says..
Attached are some stills from a low budget horror/comedy project I shot with Quantum 9b, where for the first time, I completely ignored the in-cam meter on the GH2, and went with the digisix and the zone system only to find my exposure. (CGT graded followed by raw mts... Shot with Panasonic 20mm f1.7, and Nikkor 50mm f1.8.all at ISO 200)
Bedroom Night
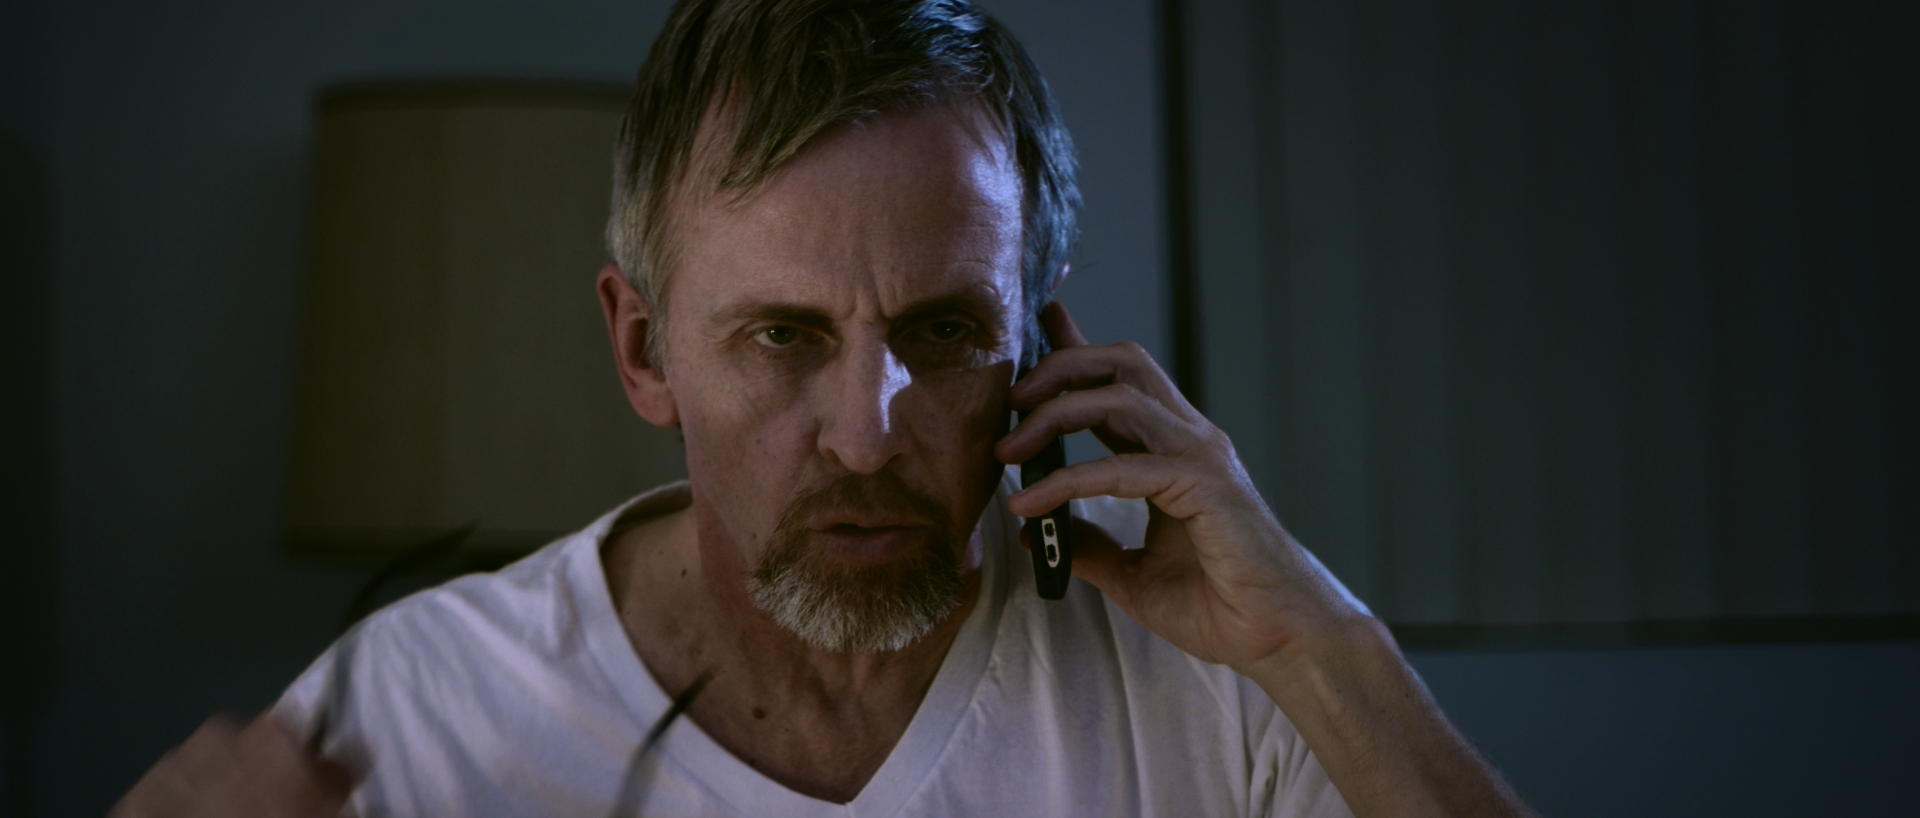
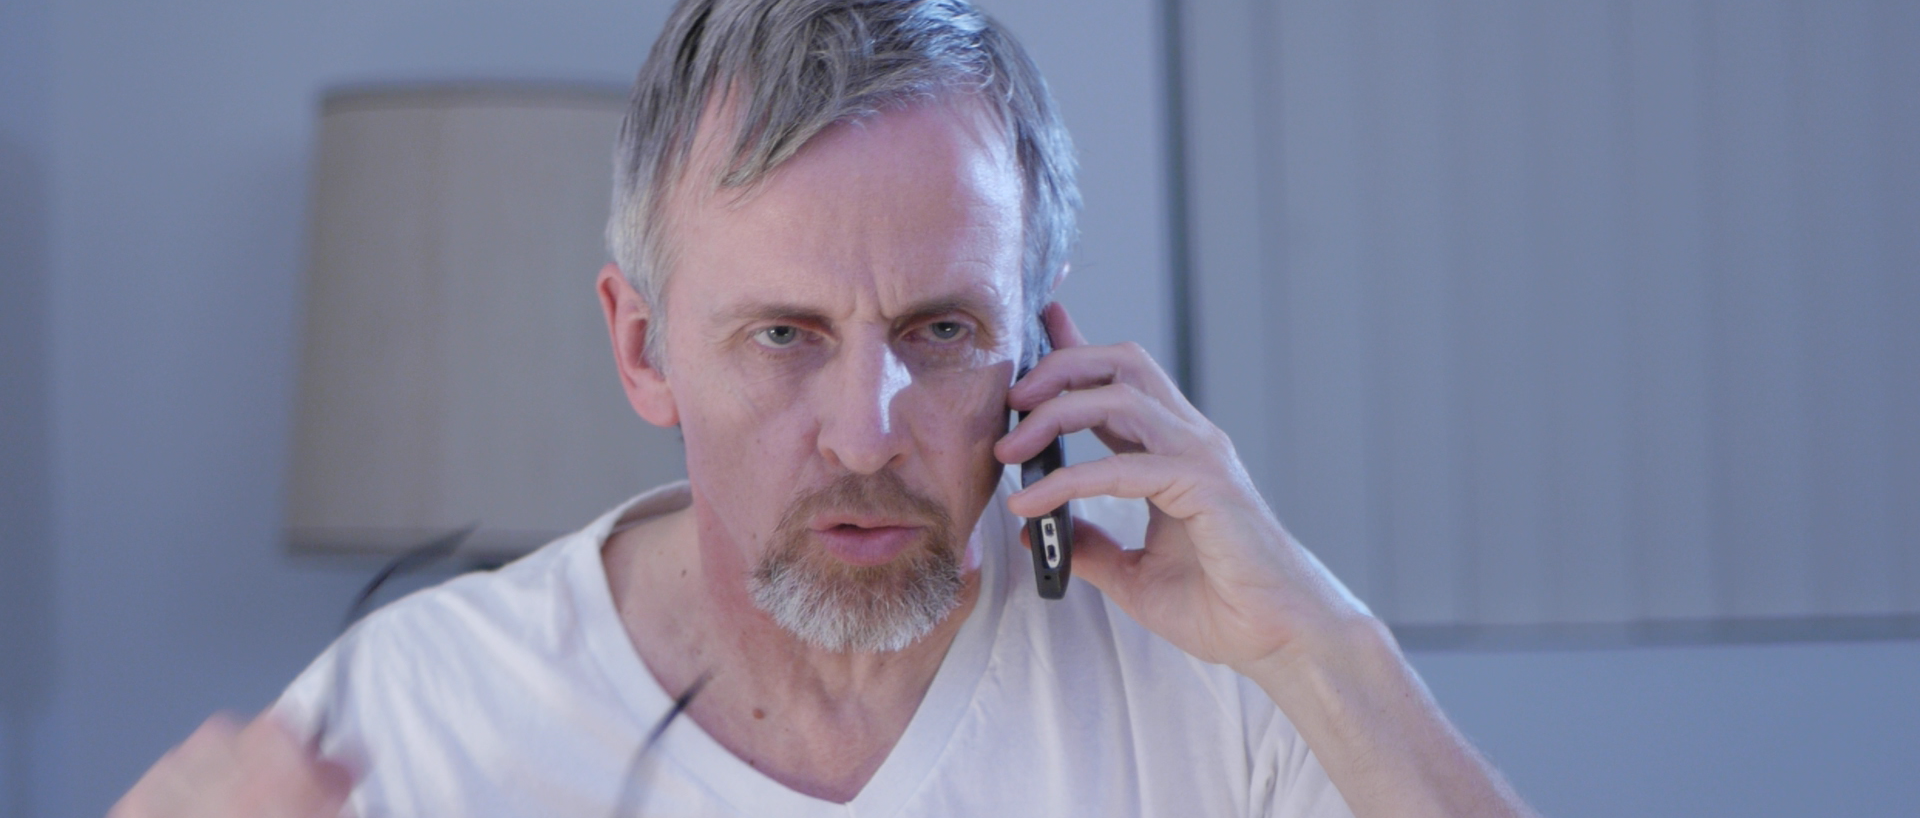
Morgue Close Up


Morgue Wide Jib
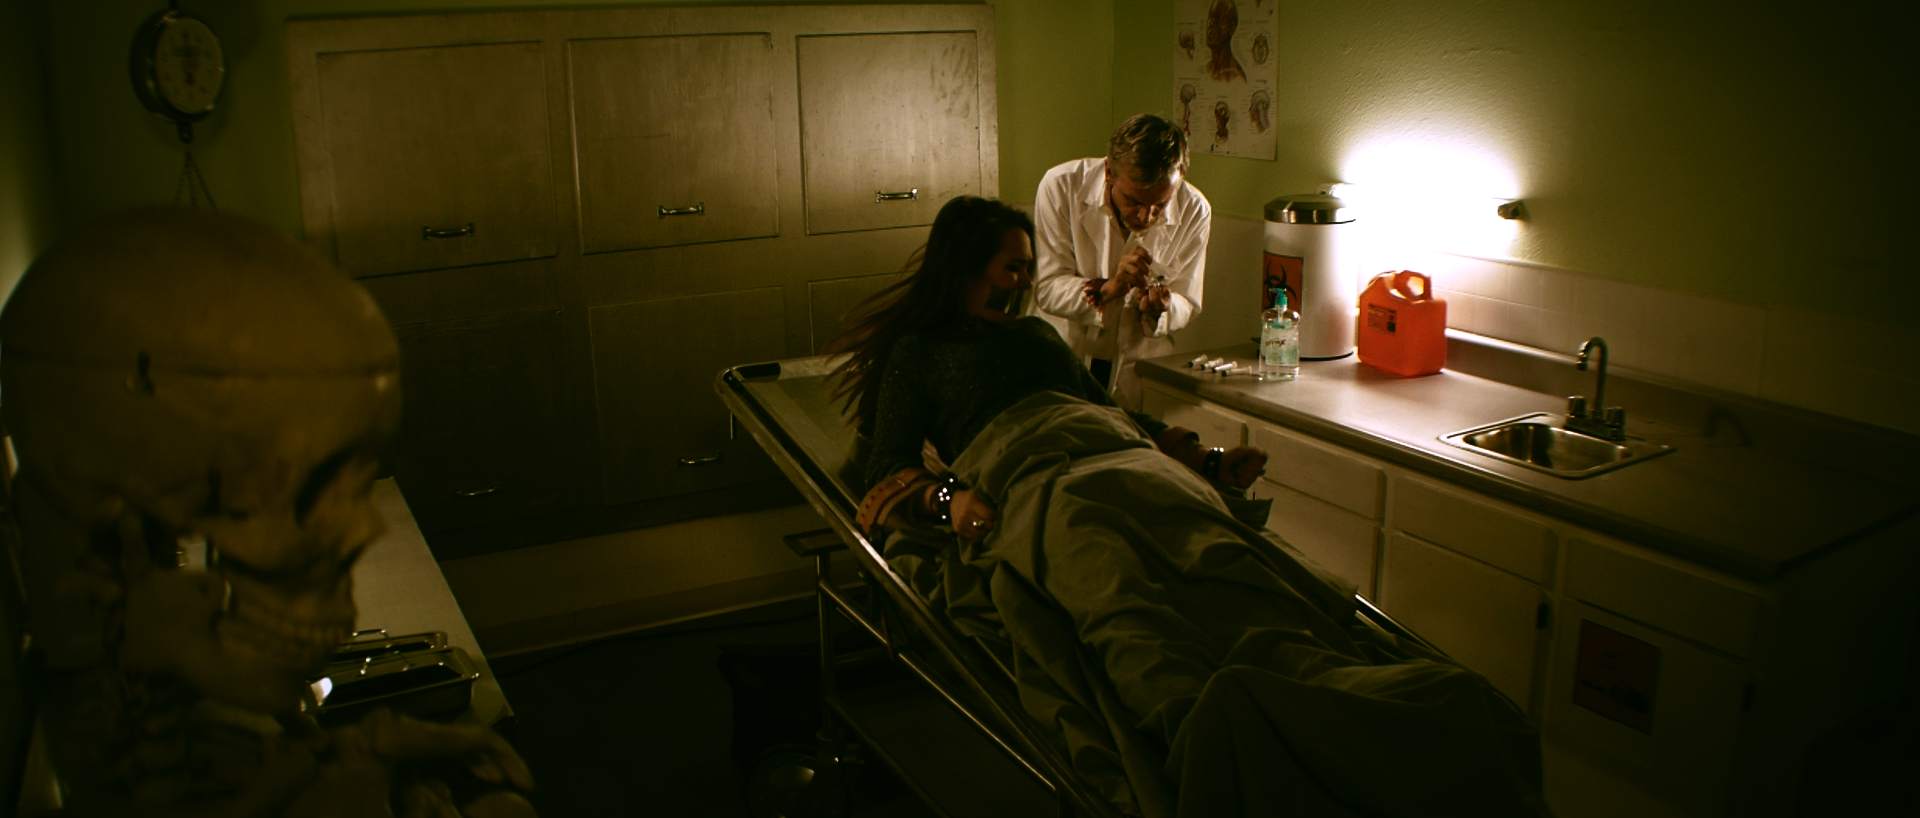
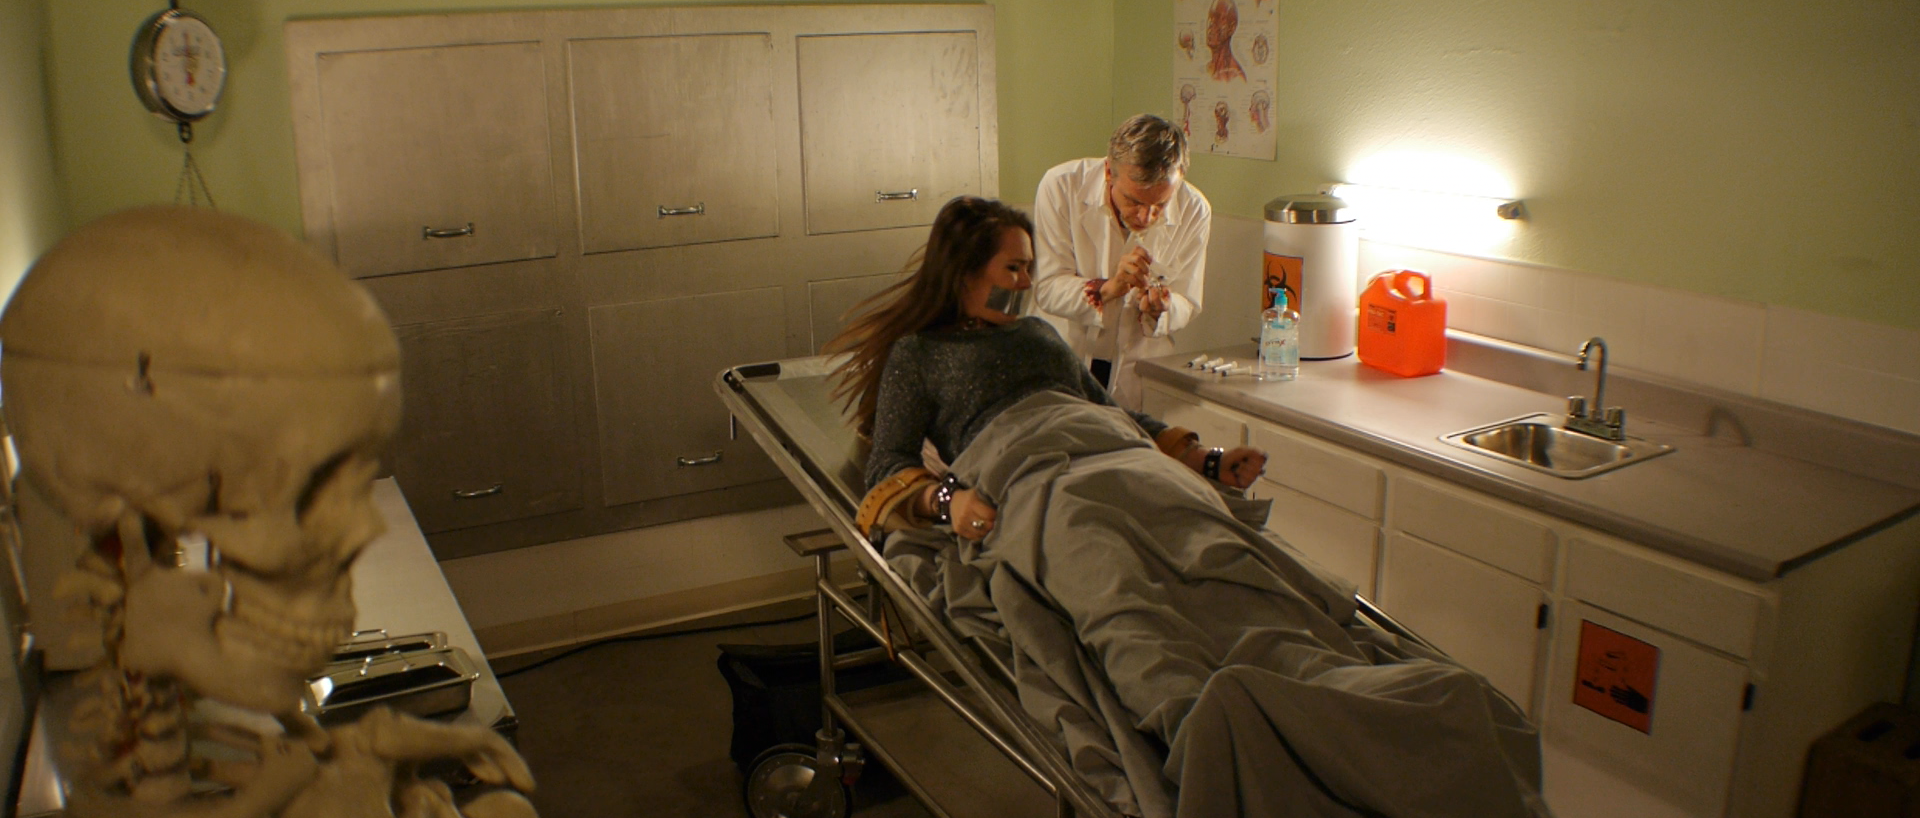

 Bedroom Night CGT.png1920 x 818 - 4M
 Bedroom Night RAW.png1920 x 818 - 4M
 Morgue CU CGT.png1920 x 818 - 4M
 Morgue CU RAW.png1920 x 818 - 4M
 Morgue Wide CGT.png1920 x 818 - 4M
 Morgue Wide RAW.png1920 x 818 - 4M
 -
@Bressonftw - the simple answer is: learn the zone system. The long answer is... learn the zone system. Fit everything you don't want to be either muddy (and/or black) or blown out (and/or white) between 20-80, and you're golden. And buy a light meter, if you haven't already. Learn to use the spot meter in-cam, but know that it will lie to you... and use your handheld meter instead.
(I demonstrate all of this [or will soon] in the ColorGHear Film School)
-
Is there a way to measure or know that one is completely shooting between 'those 4 stops'?
Howdy, Stranger!
It looks like you're new here. If you want to get involved, click one of these buttons!
Categories
- Topics List23,993
- Blog5,725
- General and News1,354
- Hacks and Patches1,153
- ↳ Top Settings33
- ↳ Beginners256
- ↳ Archives402
- ↳ Hacks News and Development56
- Cameras2,368
- ↳ Panasonic995
- ↳ Canon118
- ↳ Sony156
- ↳ Nikon96
- ↳ Pentax and Samsung70
- ↳ Olympus and Fujifilm102
- ↳ Compacts and Camcorders300
- ↳ Smartphones for video97
- ↳ Pro Video Cameras191
- ↳ BlackMagic and other raw cameras116
- Skill1,960
- ↳ Business and distribution66
- ↳ Preparation, scripts and legal38
- ↳ Art149
- ↳ Import, Convert, Exporting291
- ↳ Editors191
- ↳ Effects and stunts115
- ↳ Color grading197
- ↳ Sound and Music280
- ↳ Lighting96
- ↳ Software and storage tips266
- Gear5,420
- ↳ Filters, Adapters, Matte boxes344
- ↳ Lenses1,582
- ↳ Follow focus and gears93
- ↳ Sound499
- ↳ Lighting gear314
- ↳ Camera movement230
- ↳ Gimbals and copters302
- ↳ Rigs and related stuff273
- ↳ Power solutions83
- ↳ Monitors and viewfinders340
- ↳ Tripods and fluid heads139
- ↳ Storage286
- ↳ Computers and studio gear560
- ↳ VR and 3D248
- Showcase1,859
- Marketplace2,834
- Offtopic1,320


